Create A Fully Functional
SciFi Mech Head In Plasticity -
From Blockout To Final Render
The complete mech design workflow for Plasticity users - watch a portfolio-grade mech head get built from scratch, command by command, with zero steps skipped and zero timelapses.

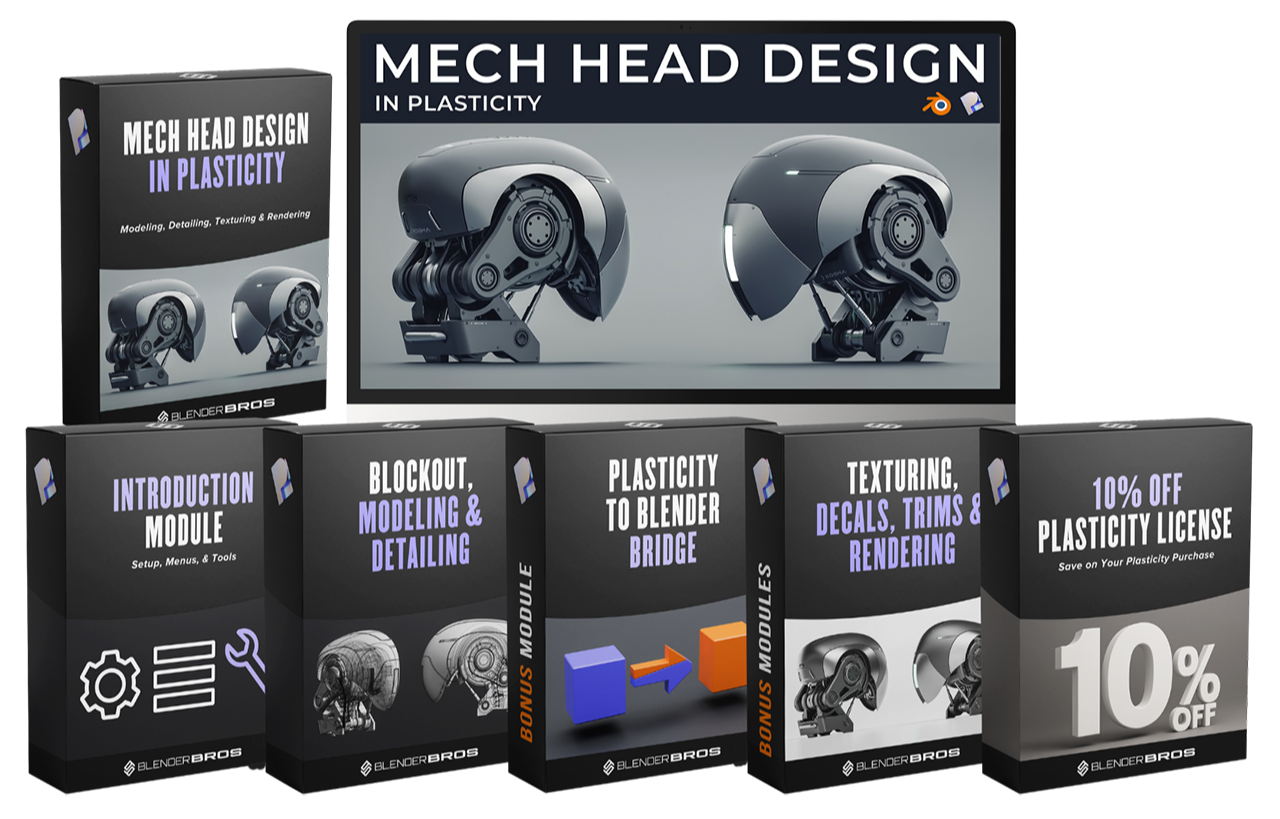
In Plasticity
- 6 modules, 12+ hours of step-by-step video $197 value
- Project files + Plasticity scene included $47 value
- Rendering + presentation walkthrough $97 value
- Full blockout-to-render mech head workflow
- Lifetime access + 14 day guarantee
Why Are Curved Shapes So F***ing Complicated?
I don't care if you're using Blender, Plasticity, or any other 3D modeling software. Curved shapes are super difficult to create.
They're frustrating. People stay away from them because they seem like this big, hairy monster that they can't defeat.
But what if I told you that curved hard surface models are some of the easiest things to create, especially in a CAD software like Plasticity?
Think about it. It's CAD. Which means no shading errors or geometry issues to deal with. Which means you simply need to learn the workflow.
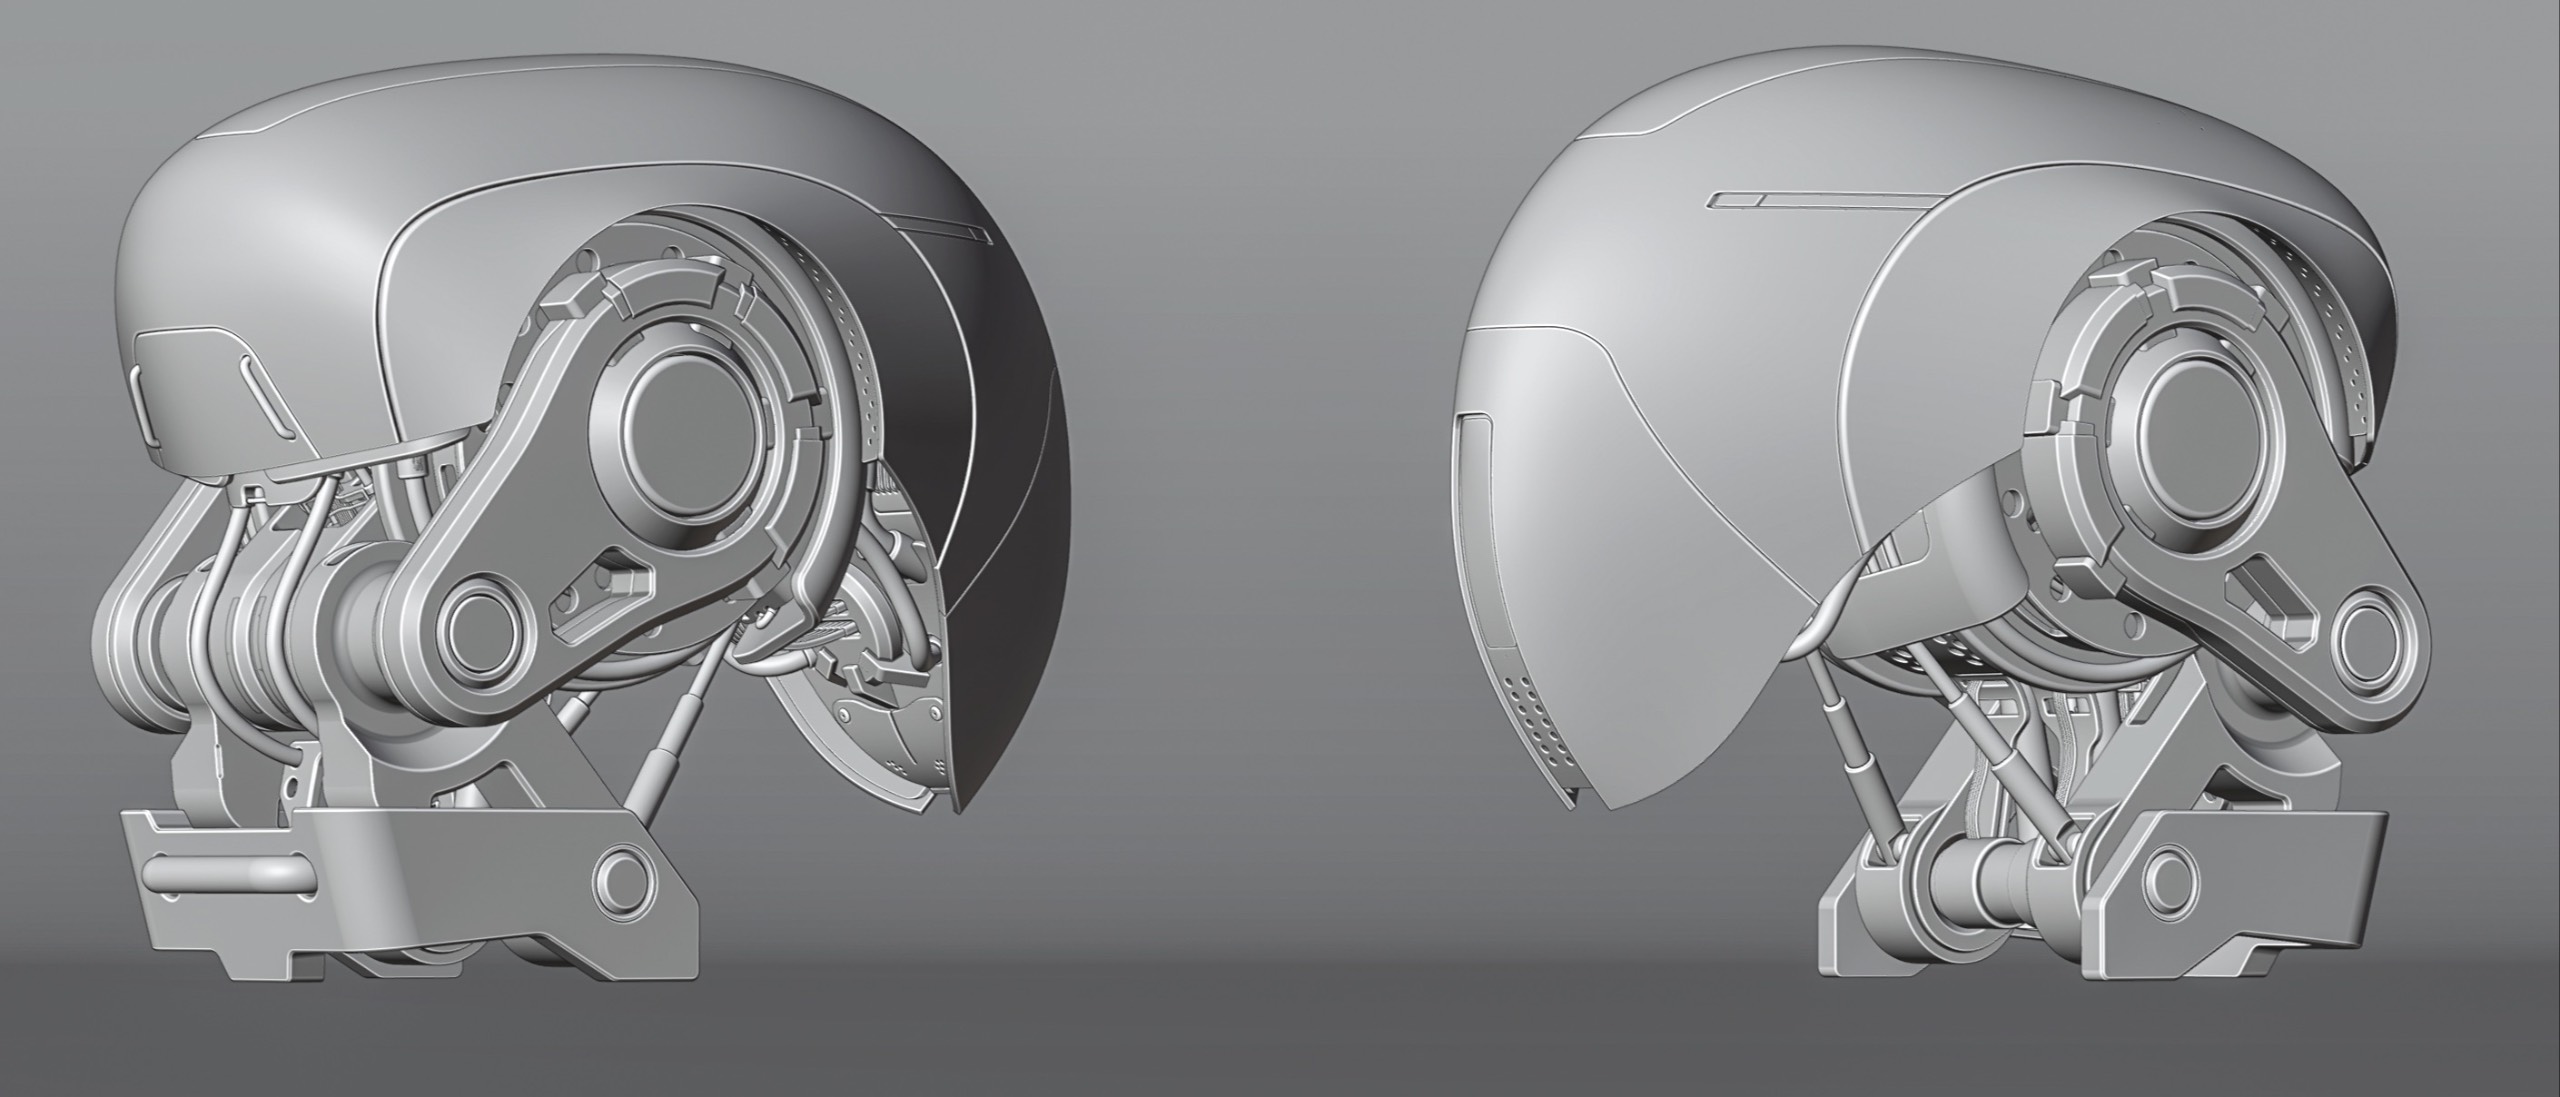
That's why the first section of the course focuses heavily on the blockout - specifically creating the curved shapes first, and then refining the details later on.
Here's an example below straight from the course:
It looks tricky, but this was very easy to create. And we show you exactly how to do it, step by step.
Model Refinement
Once we've created the base shape (and finished the curvy stuff) we can start refining the entire model.
This is where we start adding stuff like the helmet connectors, secondary & tertiary details, and trickier detail like the pivot points and stuff that make the model look functional.
Don't worry - this isn't "boring" engineering junk. We simply need to make it look functional, which is very easy to do.
We walk you through our entire thought process and step-by-step modeling workflow for refining the model.
Here's some footage from inside the course, which is all live, real-time commentary:
Functional Design
So this part is super cool. And a lot of fun.
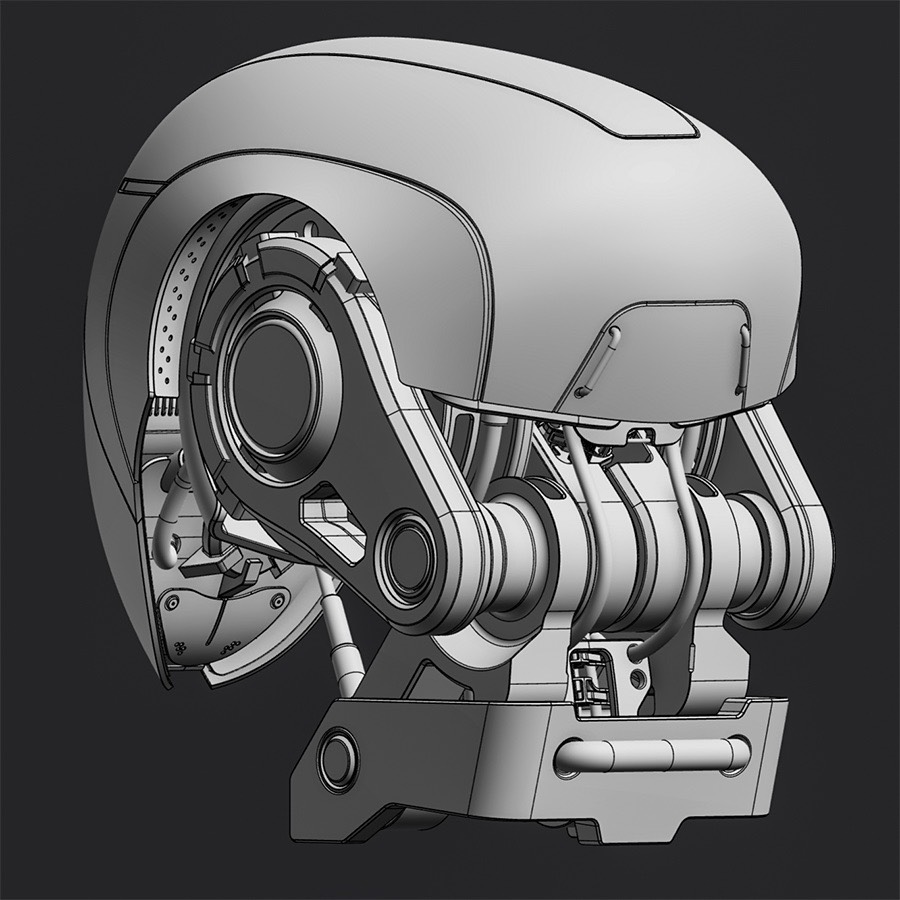
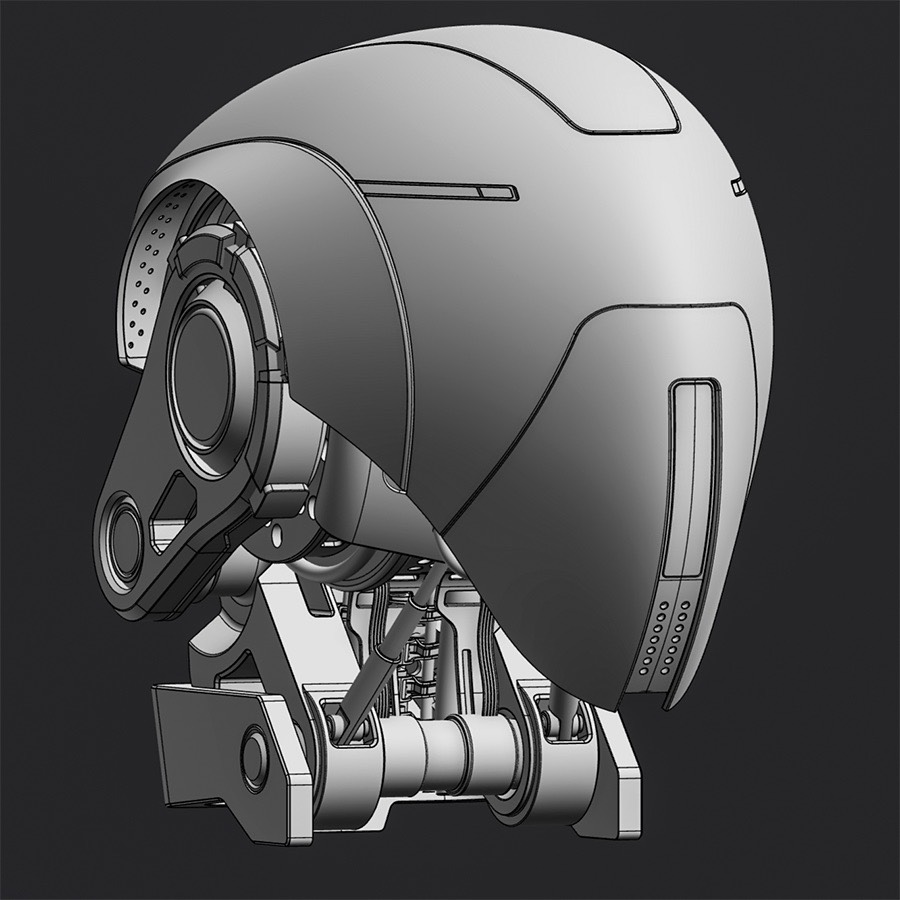
This is where we work on the helmet connectors - simple hard surface pieces connecting the helmet and giving it the illusion of movement.
Essentially, we just create pivot points connecting the main curvy helmet to the body. You'll see what I mean in the video below.
I know this part might seem "boring" or "complicated" but it isn't. And it pulls the entire design together and makes it look amazing (like you can see in the final render).
Small stuff like this can completely make or break the look of your hard surface models, so we focus pretty deeply on this subject.
Forgive me for nerding out here - but look at these close-up shots. It looks f***ing insane!
The "Secret" Section
I kinda want to call this section Phase 3.5, since it isn't a huge section, but it's a bit of a "secret section".
We use a bit of more advanced modeling methods that pretty much no other Plasticity courses will teach you.
We've created our own modeling methods that aren't "traditional" so to speak, but that can get you some pretty insane results that other tutorials won't show you.
In this section, we create a curvy spine for the helmet. This completely elevates the design to a whole new level, as you can see in the footage below.
This is personally my favorite section, and I think you'll enjoy it as much as we did creating it.
Finishing Up The Model
At this point, 90% of the model should be completed. But there's still a little bit of final detailing work left.
This is where we add the small stuff, which we call "tertiary details".
It doesn't take a lot of time, but gives the entire design that last little bit of power to make it all come together.
Exporting To Blender
Plasticity doesn't have a built-in rendering engine. And you can't really add in custom materials.
So while Plasticity is amazing for modeling, we want to do our material work inside of Blender.
This is extremely easy because Plasticity has a "Blender Bridge" feature. You can import it into Blender straight from Plasticity in just a few clicks. It's insanely good.
In this section, we'll export everything. I'll tell you exactly what buttons to click for the export. And exactly how to set up materials from scratch.
This section is exciting because now your model will actually look real.
We also show you how to set this up, optionally, using our MaterialWorks plugin. It isn't required, but it's something we recommend using.
It's Time To Render
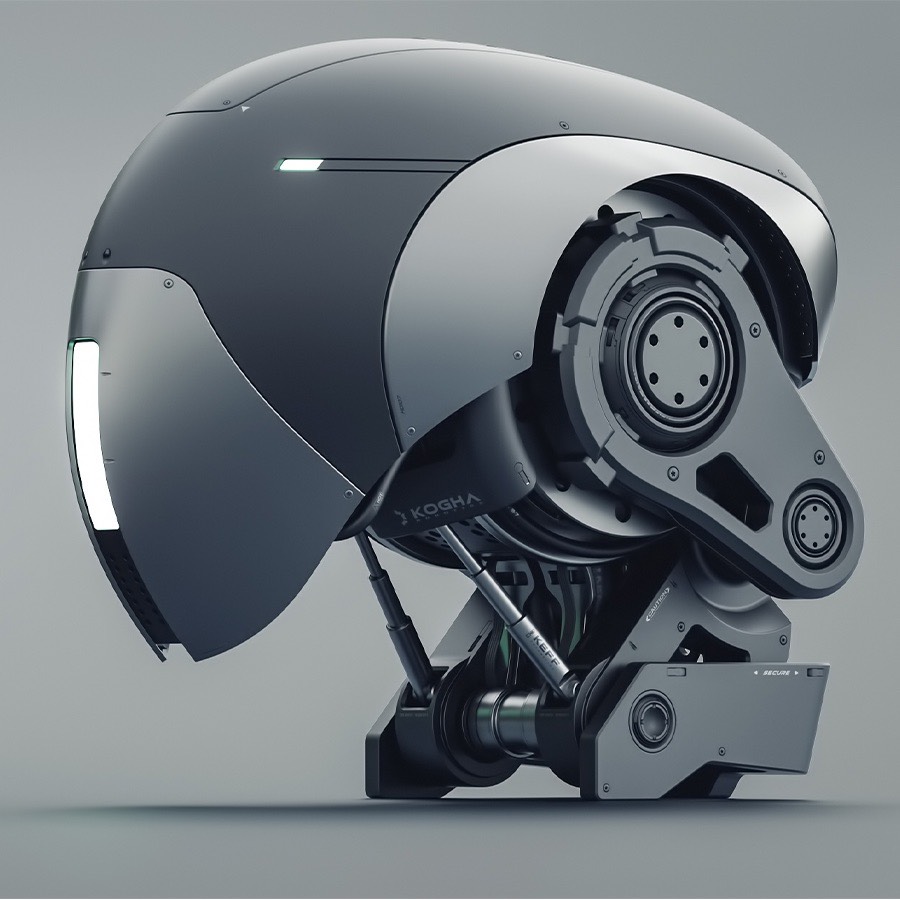
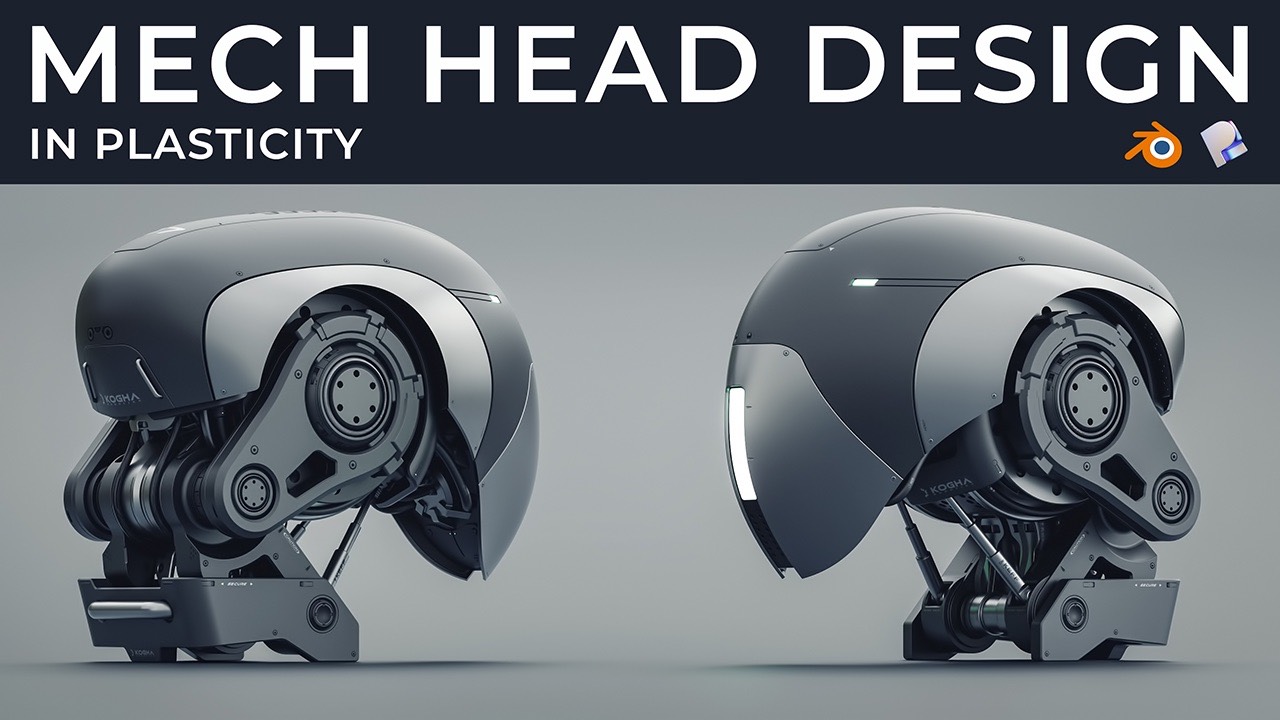
In this section, we show you exactly how to create the same scene you saw in the thumbnail for this course.
We'll show you exactly what buttons to press, literally:
- How to set up Cycles
- How to set up your HDRI lighting
- How to set up your framing
- How to create clean composition
- How to set up the backdrop
And then, as a nice little boost, we do a bit of touch up inside of Photoshop.
However, you can do the touch-up part in any image editing software. You could even do it in Blender. We just like Photoshop because it's simple & easy.
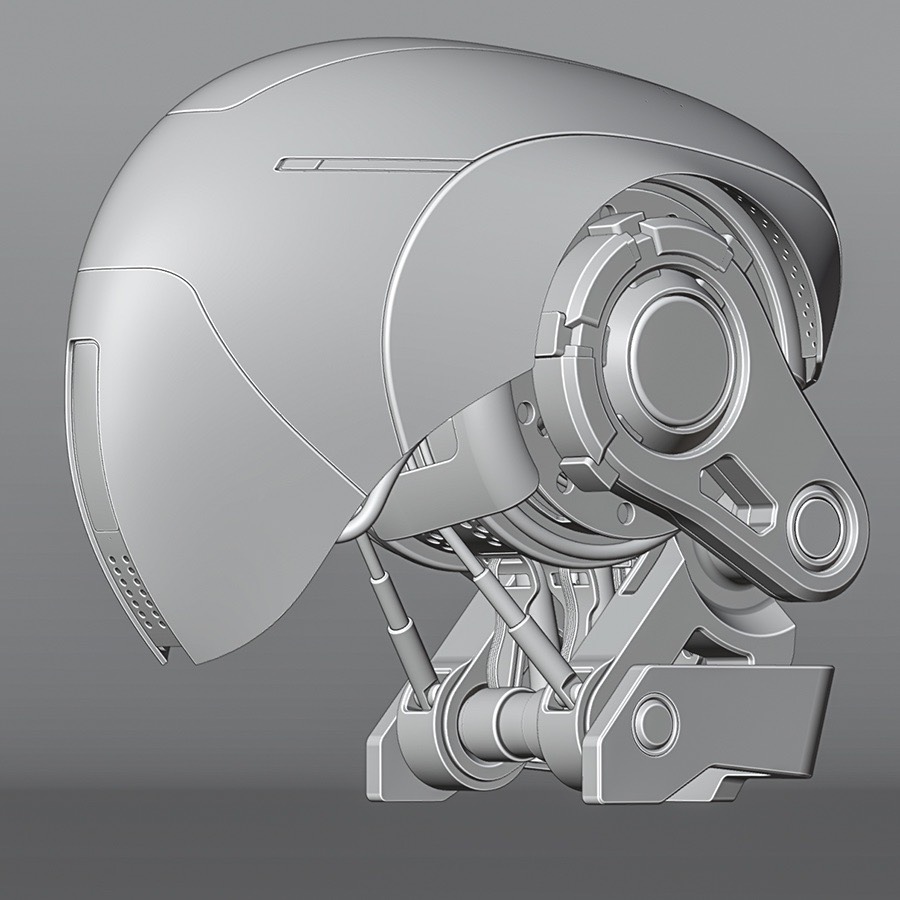
From Viewport To Final Render
Get The Full Mech Head Workflow
In Plasticity
- The full Mech Head Design course $197 value
- The "secret" cyber spine section
- Bonus: Exporting to Blender
- Bonus: Full rendering section
- Project files included
- 10% off your Plasticity license $30 value
- Lifetime access + all future updates
- 14-day money-back guarantee
- 50+ Plasticity Tips training videos
- MaterialWorks texturing plugin
In Plasticity
- The full Mech Head Design course $197 value
- The "secret" cyber spine section
- Bonus: Exporting to Blender
- Bonus: Full rendering section
- Project files included
- 10% off your Plasticity license $30 value
- Lifetime access + all future updates
- 14-day money-back guarantee
- 50+ Plasticity Tips training videos $37 value
- MaterialWorks texturing plugin $197 value

Common Questions
Do I need any prior Plasticity experience?
No - the intro section covers the UI, tools, and shortcuts you'll need. If you've never opened Plasticity before, you'll be able to follow along. That said, this isn't a beginner's fundamentals course - we move at a real pace and expect you to keep up once the basics are covered.
Do I need Blender too, or just Plasticity?
You'll need both. Plasticity handles the modeling, and Blender handles materials and rendering via the Blender Bridge export. Both bonus sections (texturing and rendering) are taught inside Blender, so you'll get the most out of the course with both installed.
Do I need the MaterialWorks plugin?
No - it's optional. You can texture and render your model using Blender's native tools alone. We just recommend MaterialWorks because it's what we use, and it makes the decal and trim sheet workflow significantly faster.
How long do I have access?
Lifetime access. Once you're in, you're in - no renewals, no subscriptions, no expiry date.
Is there a money-back guarantee?
Yes - 14 days. Go through the material, and if it's not for you, email us at [email protected] and we'll refund you in full. No hoops to jump through.