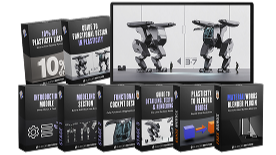
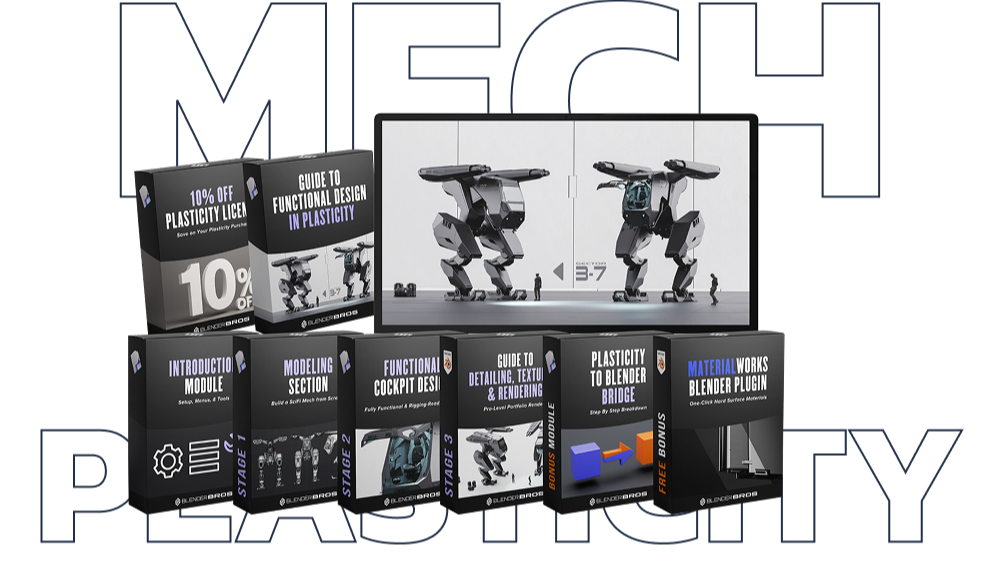
New Plasticity Course For 2026 Reveals…
How To Design A Mechanically Functional SciFi Mech From Start to Finish in Plasticity Without Any Technical Knowledge
Learn an easy and intuitive hard surface modeling workflow …


GET INSTANT ACCESS TO THE PLASTICITY PROGRAM
Just $197
↓ Join 600+ Students
GET INSTANT ACCESS
14-Day Money-Back Guarantee


375,000+
SUBSCRIBERS

30,000+
SUBSCRIBERS

23,000+
SUBSCRIBERS

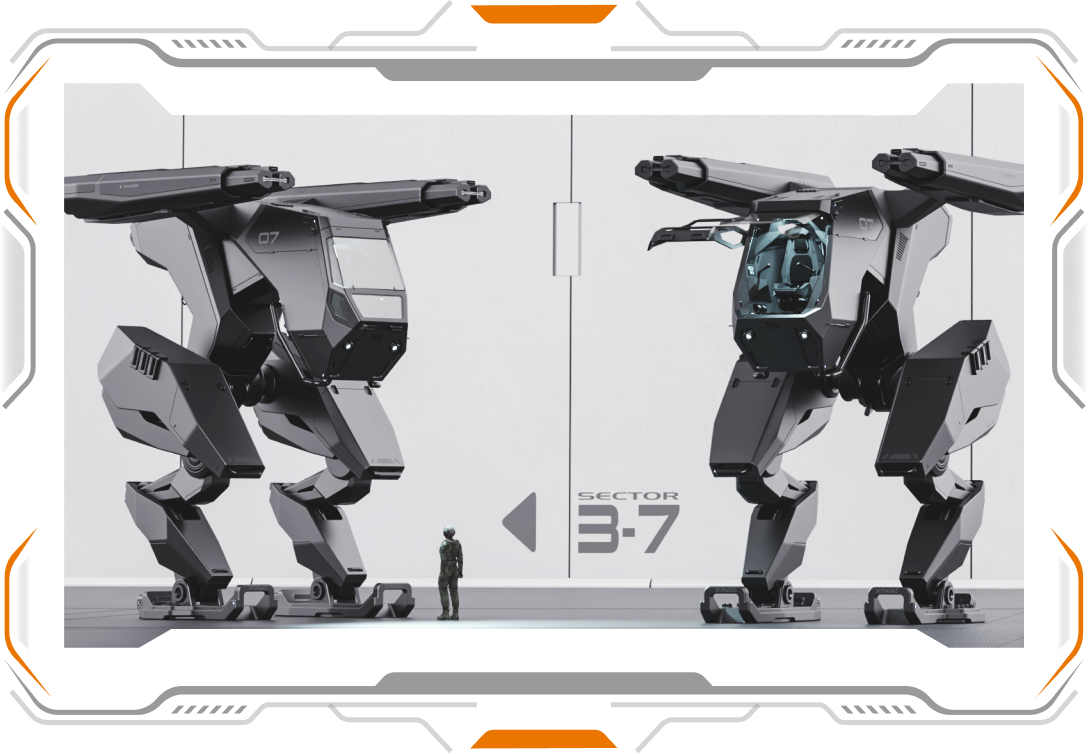
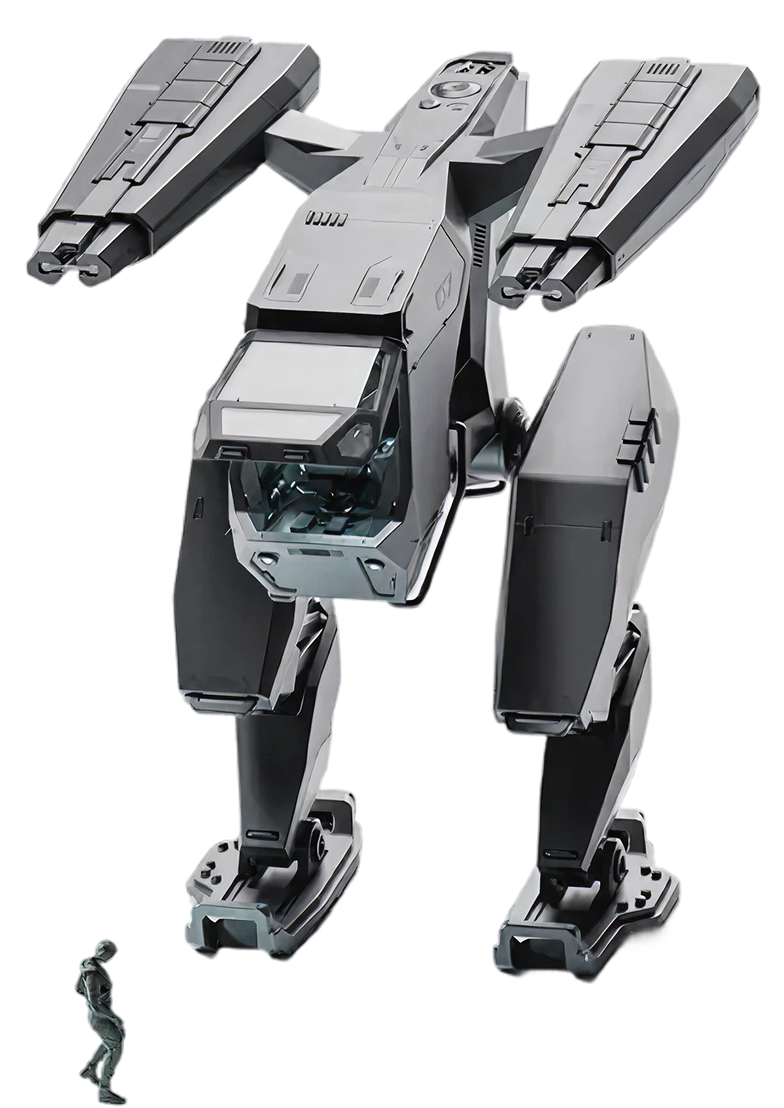
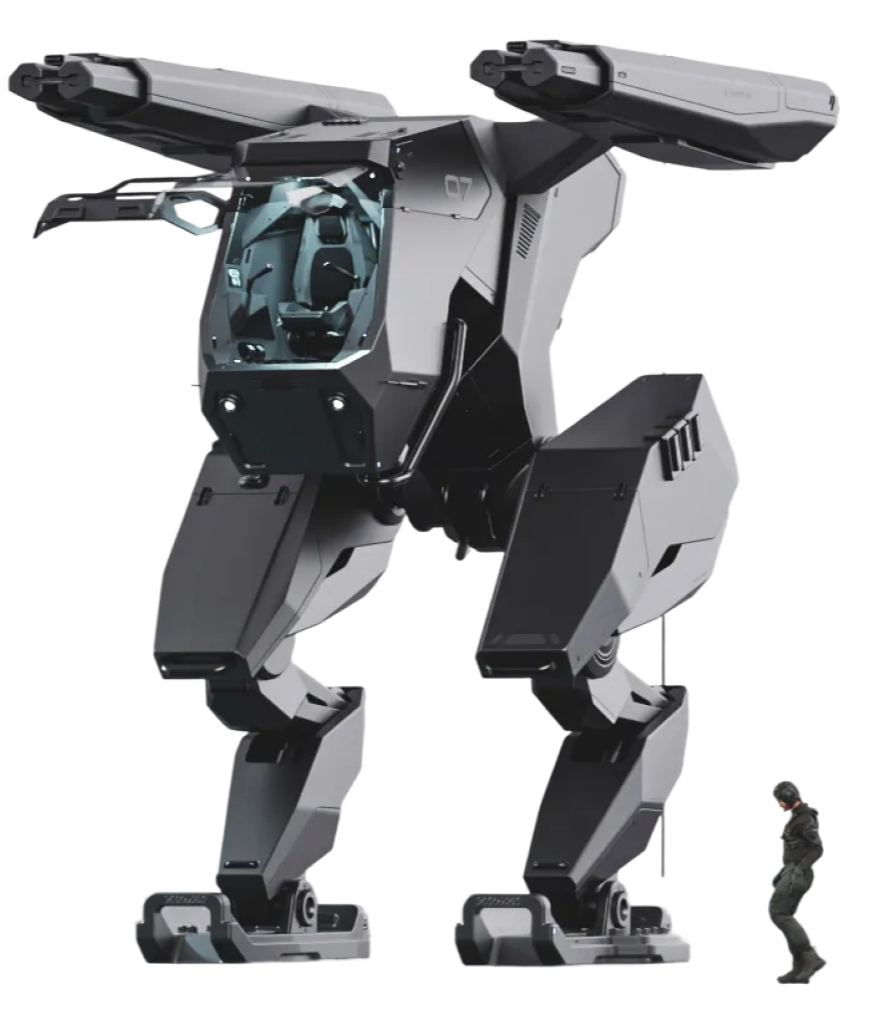
Introducing Plasticity for Functional Mechanical Design…

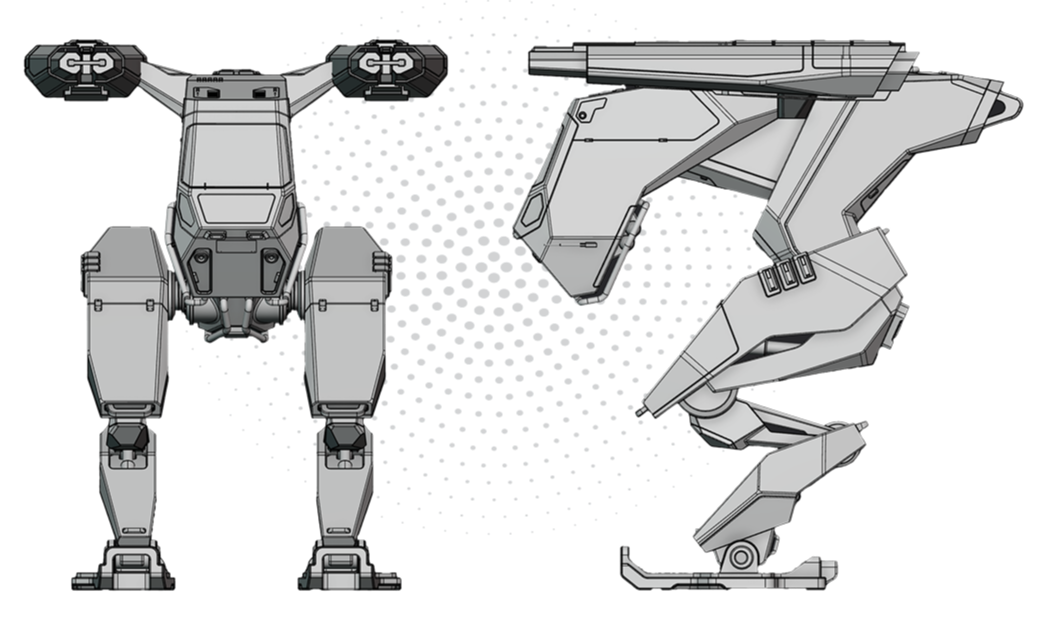
STAGE 1
HARD SURFACE MODELING WITH PLASTICITY
From rough idea to clean, mechanically functional hard-surface model

Stage 1 isn’t “here’s a tool, good luck.”
You’re taught a repeatable hard surface modeling system using Plasticity that lets you:
- Block out complex mechanical forms fast that are well balanced and functional
- Make confident design decisions early
- End up with model that looks amazing from any angle in any scene and can be easily rigged for animation and production
This is about thinking and building like a professional hard surface designer, not fighting topology.

What You’ll Be Able To Do After This Section
1. Fast Mechanical Blockouts
Learn how to:
- Start from simple primitive shapes and build complexity logically
- Establish strong proportions before adding detail
- Make early design decisions that don’t lock you in
- Learn a repeatable method for creating balanced blockouts and models every time
- Echo elements and angles across the model to create cohesion and continuity of design
- Use simple yet powerful Plasticity tools you can apply to your future projects
2. Boolean and Curve Driven Design (The Right Way)
- Use booleans as a design tool, not a last-resort hack
- Stack, adjust, and refine cuts cleanly
- Use Curves for essential and tricky design choices
- Create powerful planar shifts essential for creating interesting shapes
3. Fillets, Chamfers & Edge Control
- When to bevel or chamfer and when not to
- How to create mechanical forms that feel realistic
- How to create clean transitions that read correctly in renders
- How to stay in consistent design language
4. Designing for Blender, Not Just Plasticity
This isn’t modeling in isolation.
Learn how to:- Export the mesh to Blender via Plasticity Bridge
- How to clean up messy CAD topology with a few clicks
- Deal with shading issues or mesh glitches
- Prepare the mesh for texturing and detailing using our Addon Material Works (sold separately)
You don’t need:
Engineering knowledge
Years of CAD experience
Lots of complex tools
If you understand basic 3D modeling concepts, you can follow this.
Exactly What’s Covered in the Modeling Section


- Mechanically functional and Balanced blockouts from scratch
- Boolean & Curve based form development
- Bevel & Chamfer logic for Powerful Planar Shifts and edge realism
- Shape refinement without topology stress
- Exporting the Model to Blender for Texturing, Detailing, Rendering
- Avoiding common hard-surface dead ends
STAGE 2 (FREE BONUS SECTION)
INTERIOR COCKPIT DESIGN
Design believable, aesthetic interiors without overwhelming complexity

What You’ll Be Able To Do After This Section
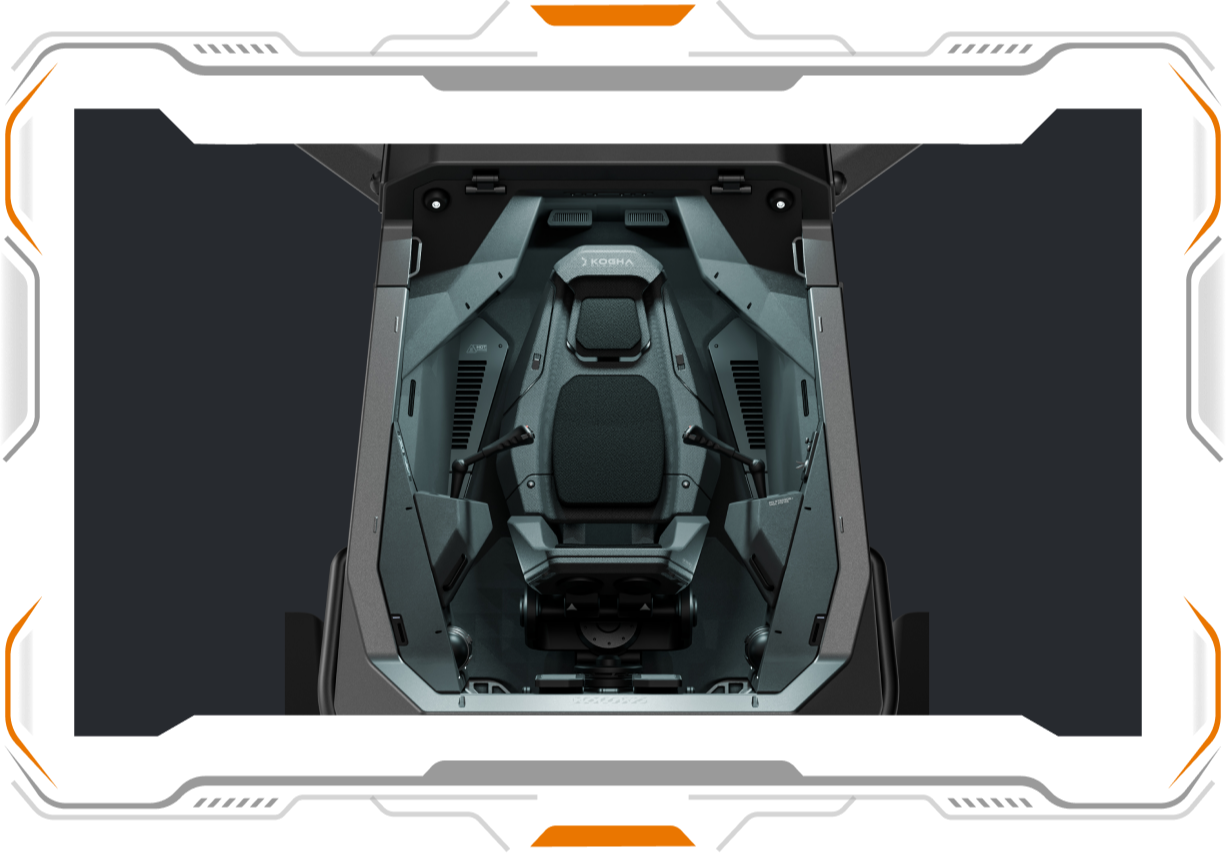
The Interior Design Workflow You’re Learning
1. Interior Blockout & Spatial Planning
- How to work at scale to make the model feel realistic
- Lay out cockpit spaces logically
- Define functional zones (controls, seating, framing)
- Make the interior feel “used” and believable without overbuilding
- Stay in design language so the interior fits the exterior
2. Layered Detail Without Clutter
- Stack forms and panels to create depth
- Use negative space strategically
- Avoid the “everything is equally detailed” problem
- How to create a functional cockpit interior
3. Interior–Exterior Integration
- Design interiors that fit naturally inside the exterior shell
- Avoid intersections and spatial conflicts later
- Think ahead for camera views and animation
4. Designing for Downstream Use (Blender, Animation, Renders)
- Make interior modeling choices that don’t break when animated
- Create an interior that scales perfectly to a human size

Exactly What’s Covered in the Interior / Cockpit Section

- Proper scaling of the Interior elements
- Planning Ahead for Functional Design
- Modular interior components that fit perfectly
- Visual hierarchy and readability
- Interior - Exterior design continuity
- Designing interiors for animation and rendering
This section is absolutely insane…
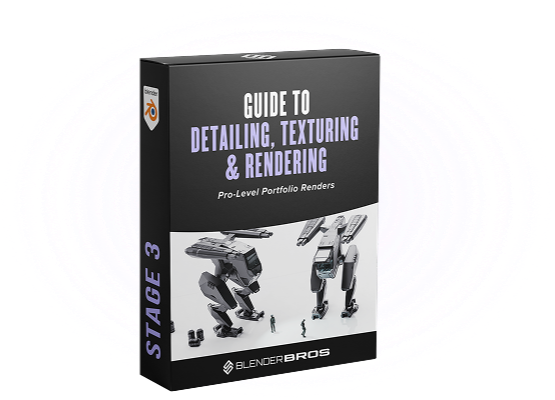
STAGE 3 (FREE BONUS SECTION)
RENDERING THE MECH
Turn clean models into cinematic, professional-grade visuals

What You’ll Be Able To Do After This Section
The Rendering Workflow You’re Learning
1. Clean Scene Setup (No Chaos)
- Set up Lights and Camera (the how and why)
- Create well balanced and clean framing
- Learn how to utilize negative space to create powerful and clean renders
2. Lighting for Mechanical Readability
This is a major focus.
Learn how to:- Place lights to define form and edge flow
- Use highlights to accentuate al the planar shifts created but cuts, bevels and chamfers
- Avoid lighting setups that hide or flatten detail
- How to add lights to the mech (including the interior)
3. Simple, Effective Materials
- How to texture the model using our addon Material Works
- How to texture the mech so it emphasizes and enhances the design further
- How to use Decals and Trimsheets with Material Works (the most powerful way of adding final details)
4. Camera Composition & Presentation
Rendering isn’t just about lighting.
Learn how to:- Choose camera angles that sell the design
- Frame shots that highlight key features
- Avoid compositions that make good models look bad
- How to work with simple lighting and background to create powerful renders that will get your portfolio attention it deserves
Exactly What’s Covered in the Rendering Section
- Simple render scene setup
- Lighting mechanical assets for clarity
- Adding mats with one click
- Reflection and roughness control
- Camera composition and framing
Stage 4: RIGGING & ANIMATION
Rig complex mechanical parts without advanced character-rigging methods

The Mechanical Rigging Workflow You’re Learning
1. Proper Pivot & Transform Setup
- Identify correct pivot points for mechanical motion
- Align parts so rotations and translations feel natural
- Fix common pivot issues before animation starts
2. Simple, Clean Bone Systems
- Use minimal bones for maximum control
- Keep rigs readable and easy to troubleshoot
- Avoid setups that break when you make small changes
3. Constraint-Based Motion (Without the Headache)
- Use constraints to control movement logically
- Limit motion where it should be limited
- Create believable mechanical behavior
4. Designing Rigs for Animation, Not Just Setup
This is where most people fail.
You’ll learn how to:- Set up rigs with animation in mind from the start
- Avoid rigging choices that make animation harder later
- Keep everything predictable for keyframing

BASIC
$297
$197
One-Time Payment
- Hard Surface Modeling with Plasticity ($197 Value)
- Interior Cockpit Design
- Texturing & Rendering Section
- Rigging & Animation Section
- BONUS: 10% off Plasticity
- Includes our original Plasticity course ($197 value)
- Includes our MaterialWorks Texturing Plugin ($97 value)
PLATINUM
$497
$297
One-Time Payment
- Hard Surface Modeling with Plasticity ($197 Value)
- Interior Cockpit Design
- Texturing & Rendering Section
- Rigging & Animation Section
- BONUS: 10% off Plasticity
- Includes our original Plasticity course ($197 value)
- Includes our MaterialWorks Texturing Plugin ($97 value)

Payment Plans available - Start Today For As Low As $50 with


100% Guarantee Money Back
If you put in the work and follow the trainings and still don't see results and growth in your work, reach out to us within 14 days and we'll refund 100% of your money.
Meet Blender Bros
Ryuu is a Tokyo-based multi-genre artist, author and educator. His current focus is on 3D hard surface concept art and creating 3D courses for Blender. Ryuu is also a professional portrait photographer and a certified Master of Japanese Calligraphy with All Japan Calligraphy and Literature Assoication, as well as an author of several books on the subject of Japanese writing systems.

Josh is a 3D hard surface artist, educator, and YouTube who has been using the Blender 3D software for nearly a decade. He has a passion for helping people fulfill their 3D goals and visions, while also providing the necessary resources needed to achieve mastery. You can find his hard surface modeling tutorials on YouTube, where he helps over 190,000 artists master their craft
Frequently Asked Questions
Are my results guaranteed?
How is the content delivered?
Is this a one-time payment?
Is this content lifetime access?

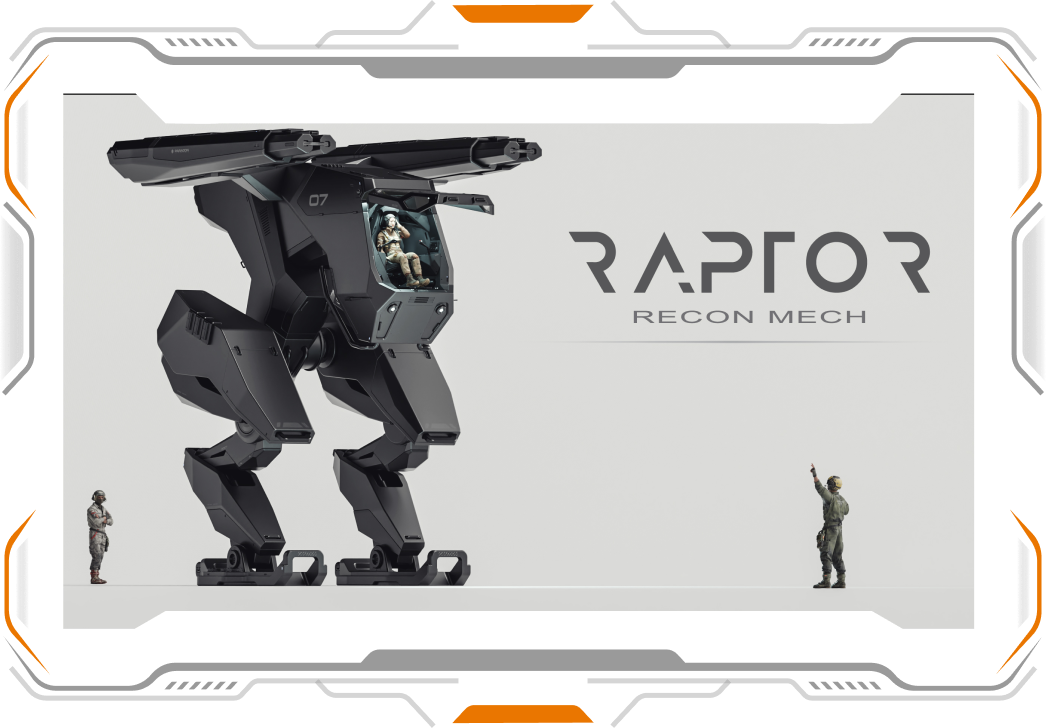
Learn to Design Sci-Fi Mechs in Plasticity
An intuitive hard-surface workflow - no technical knowledge required.
© 2026. Blender Bros. All Rights Reserved
