The Blender Bros Shape Bootcamp
Learn the strategies top 3D artists use to build out and create interesting shapes from scratch.
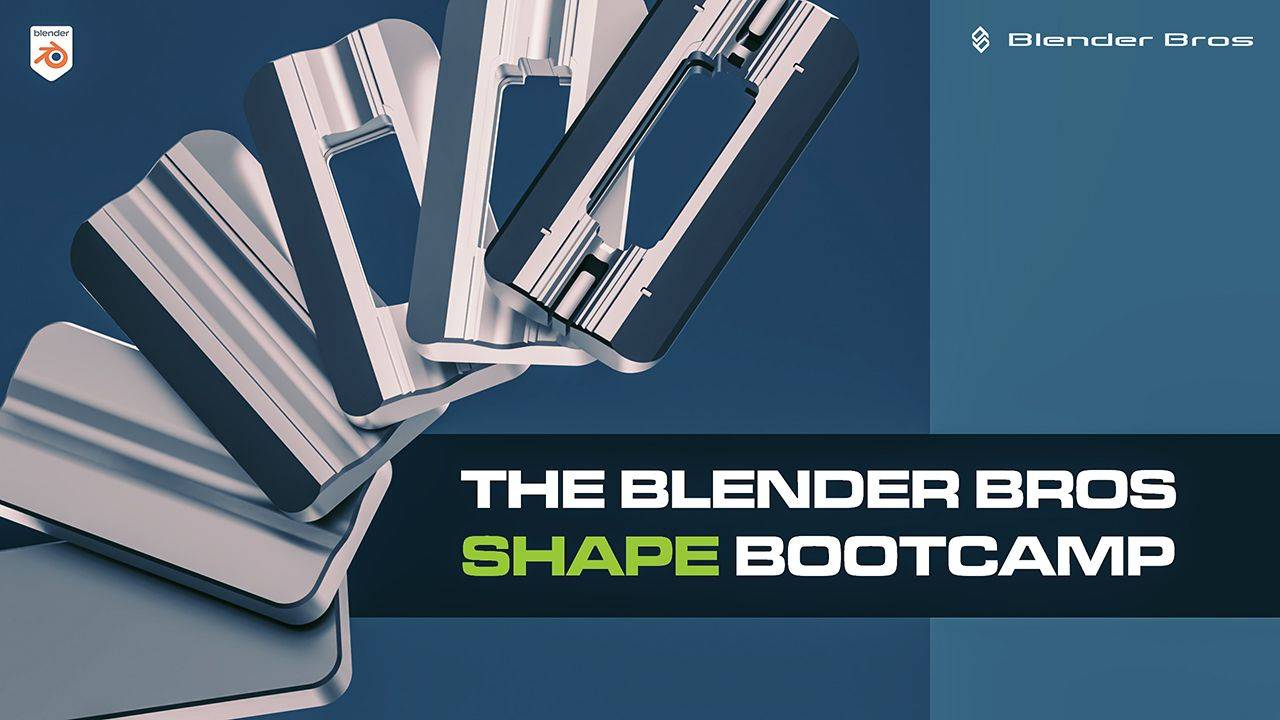
"But... how do you think of these ideas in your head?"
Yup. After training tens of thousands of 3D artists, this is still the number on question we get.
LET'S FIX ITCreating well-balanced 3D designs is essential, but it all starts with a basic shape.
Learn our formula for creating beautiful shapes so that you can:
- Eliminate frustration when trying to create models from scratch
- Intuitively understand the importance of form and visual design in 3D
- Build your creative brain so that way you think in terms of shapes and forms - without even trying
- Unplug the analytical and logical side of your brain so that way you can think creatively
- Master the principles of echoing, detail concentration, the 70/30 rule and the other iron rules of 3D visual design
This skill can be trained.
As someone who is extremely logical and analytical (I even have a degree in Mathematics), being naturally creative has always been difficult for me. What I really needed when learning hard surface modeling and 3D design was a formula that allowed me to be creative without even trying. Well, we've built that formula for you inside of this program.
ENROLL IN THE BLENDER BROS SHAPE BOOTCAMPINTRODUCING
The Blender Bros Shape Bootcamp
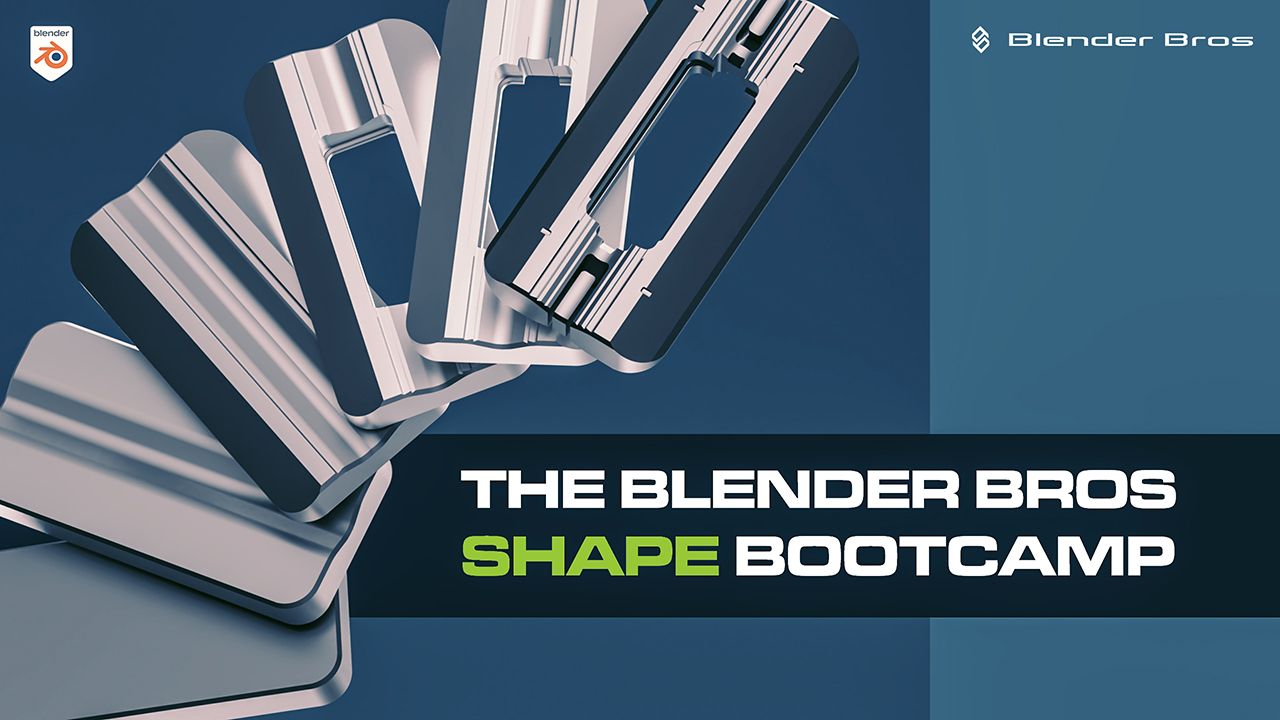
Let's re-program that brain of yours...
Everyone has a certain way of thinking. If you're naturally creative - congratulations! This course will be super easy to follow. But what if you're not naturally creative and have more of an analytical brain? Even better - this course will revolutionize your workflow in just a few hours. We've laid out the entire 3D design formula.
- Re-program and adjust the way you think in 3D
- Eliminate the struggle of creating shapes from scratch
- Master the rules of 3D visual design so you know exactly how to keep adding detail
What's Included In The Bootcamp...
Each chapter is short, to the point, and generally under 10 minutes long. You should be able to complete most of the core chapters in just one sitting.

CHAPTER 1
Shading Setup
Most Blender users have a completely incorrect Blender setup. In order to actually understand the form and balance of your shape, you need to enable some secret settings the really make your models "pop". We'll discuss:
- Why cavity shading is incredibly important
- Matcaps and how they help the eye when designing
- Ridges and valleys and how they emphasize your visual details

CHAPTER 2
The Creative Approach
"How do you even come up with these shapes?" Hold your horses, cowboy, because that is exactly what this chapter will discuss. You'll master:
- The thought process behind designing a shape from scratch - without references!
- How you can use existing shapes to build additional detail
- Why the best shapes require the least amount of thinking - seriously!

CHAPTER 3
Thinking About Details
Ok... so you've built your base shape. Fantastic! But once that is done, how do we actually think about details so that way we can keep building on top of our design? Well, that's what this chapter will cover, including:
- My analytical approach for adding detail after creating my basic shape
- Using chamfers, bevels, and booleans to create more powerful, dynamic details
- How to use cavity highlights to emphasize the strengths of your shape and understand it's overall form

CHAPTER 4
Echoing and Detail Clustering
These are the two most important elements of 3D and visual design. Fortunately for you, most artists don't know how to use these effectively, meaning you can jump ahead of most of your competition with ease. This chapter will allow you to:
- Re-use shapes that already exist on your model to make it look more complex
- Understand where to place detail so that way your designs don't look like a mess
- Combine both elements to create a fluid, beautiful shape in a matter of minutes

CHAPTER 5
The Power of Empty Space
This is the biggest cause of confusion for most artists: Should I add detail to fill my empty space? The simple answer: NO! This section will discuss:
- Why empty space is incredibly important to the flow of your designs
- How adding too much detail to empty space can destroy the beauty of your shapes
- What empty space is used for and how it will help increase the power and beauty of your models
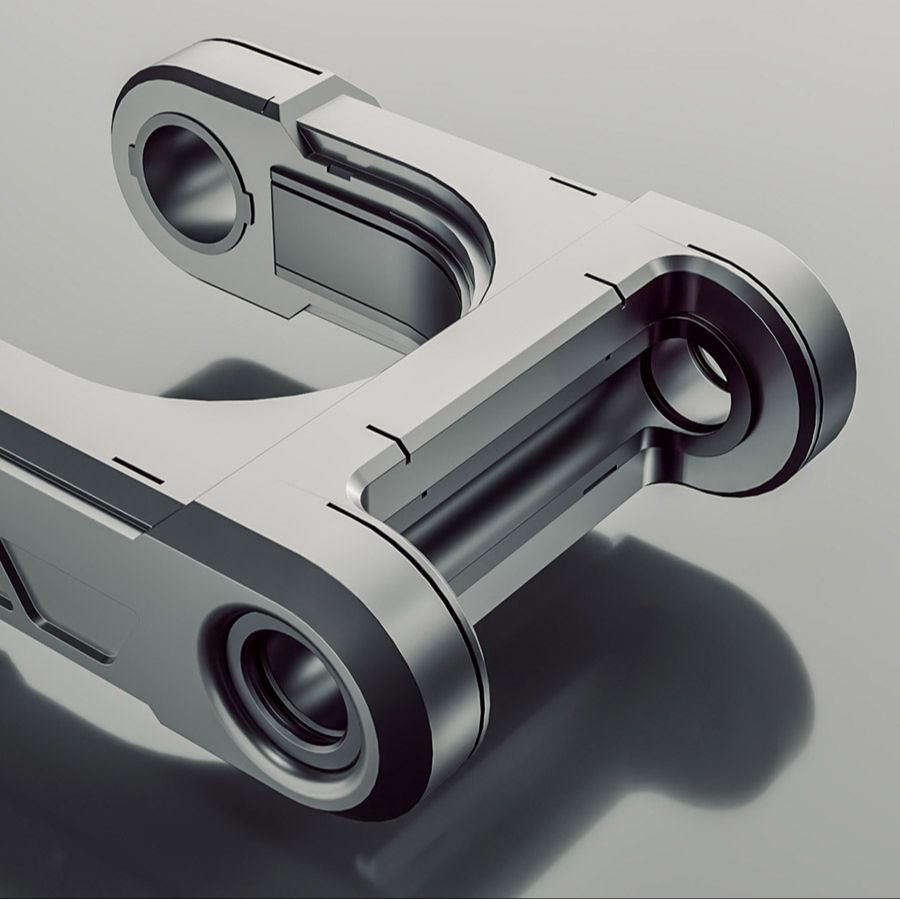
CHAPTER 6
Expanding Detail
Ok... you've created your base shape. At this point, you need to expand your detail. In this chapter, we'll discuss the process and the approach you need to do so, including:
- How to use the principles of echoing and detail distribution to make your models 10x more appealing
- The best way to increase complexity without compromising the quality of your models
- Taking advantage of empty space to increase the visual appeal of your models

CHAPTER 7
'Breaking' Empty Space
So we've already discussed how empty space is crucial to the development of your shapes. But can we break this rule and eat into it? The simple answer: yes. But you need to be careful, which is why in this section we'll discuss:
- The proper way to break into empty space without sacrificing quality
- How to break into empty space... without actually breaking into it (confusing, but it actually works!)
- A simple way to add supporting elements while maintaining the important areas of focus

CHAPTER 8
Breaking the Symmetry
Symmetry is a fantastic element to have, but often times, it is better to break the symmetry. Simply put, if each axis is a mirror of the other axis - it could be a good idea to break that effect. We can do so by:
- Adding simple elements that pull attention towards one side of your design due to the lack of symmetry
- Making out shape asymmetrical on at least one axis
- Reusing shapes that already exist, but on one side of the design instead

CHAPTER 9
Remeshing
In a traditional sense, remeshing allows you to get "clean" topology on your model. But in terms of visual design and creating well-balanced shapes, we can actually use Blender's remesher to enhance the look of our models. We can do so by:
- Using the Remesh Modifier to 'soften' our shapes
- Improving the form and edge definition that the Remesh modifier gives us
- Making the model look more dynamic and visually interesting via remeshing
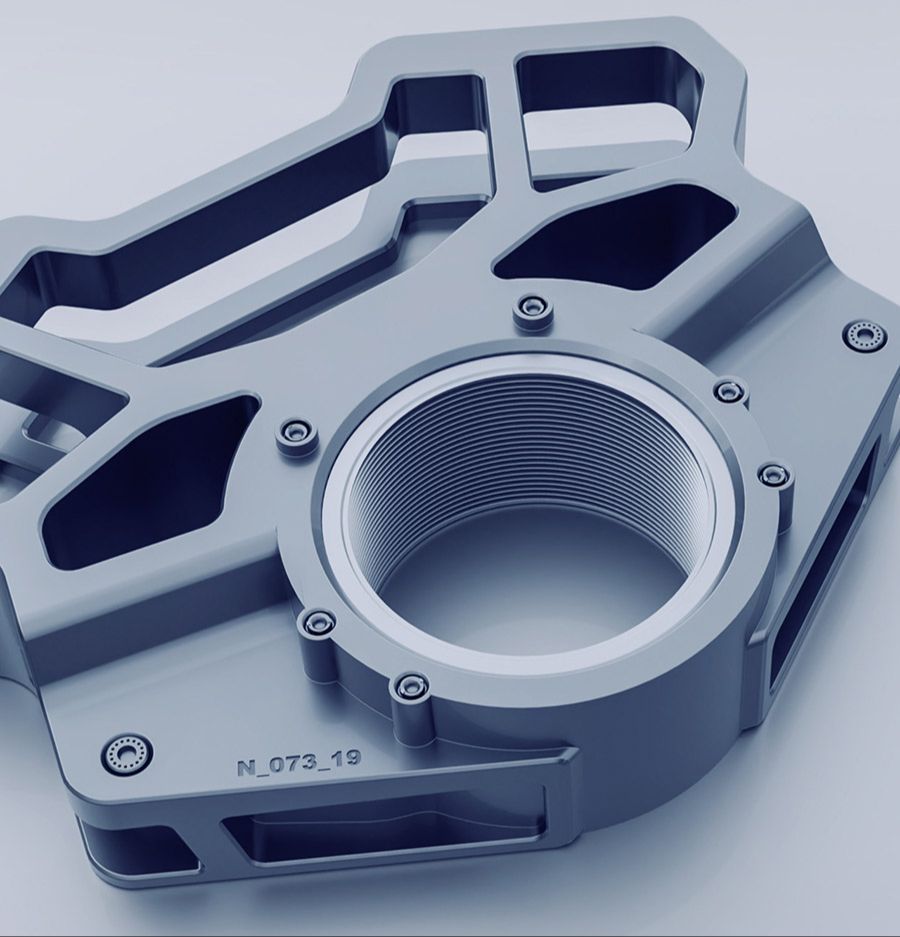
CHAPTER 10
Using Primary, Secondary and Tertiary Detail
You've probably heard of this before: Primary detail is your base shape, secondary detail are your supporting elements, and tertiary detail is what adds that level of complexity. In this chapter, we'll discuss:
- How to 'think' about different layers of detail in order to get the most appealing shape possible
- The reason increasing visual complexity is so important for the aesthetics of your models
- How to incorporate our previous elements of visual design to expand our levels of detail

CHAPTER 11
Working from References
You don't need reference images, but they are incredibly useful for getting ideas for your shapes and designs. This chapter will discuss:
- How to use reference photos to help expand your creative library
- Developing a collection of reference photos and styles to give you ideas and inspiration
- The core benefits of using reference photos to help give you ideas

CHAPTER 12
Importance of Functionality
Functionality is important when you're trying to create realistic designs and concept art. That is why this chapter is all about how to create functional elements, including:
- How to "fake" detail by making it look functional (even if it's not!)
- The easiest way to use what we call "implied functionality" to balance both form and function in your designs
- Using elements of your shape to also work as a functional element

CHAPTER 13
How to design from all angles
Ideally, your models should look good from all angles: top, bottom, and side. That means to need to design from all angles as well. This chapter will cover:
- The easiest way to create detail from all angles
- Top, front, and side views and how to ensure all portions are equally balanced
- An easy way to add dynamic detail to each side of your designs

CHAPTER 14
How to create your own style
A big issue we see is style. When taking courses and watching tutorials, it's very easy to develop somebody else's style. In this chapter, we'll show you how to break free and build your own style, including:
- Examples from our own personal porfolios
- 3D, photography, and other portfolio examples
- How other expert artists break into their own style, and how you can replicate that

CHAPTER 15
Materials and Colors
Materials and colors are a great way to emphasize important elements of your shapes. Generally, we like to stick with 3-4 materials max, and this chapter will show you:
- What NOT to do when adding materials to your objects
- How to highlight the areas of your models you want to bring attention to
- How different materials and colors yield completely different results on your renders

CHAPTER 16
Planar Shifts
Planar Shifts are an effective way to 'transfer' details from one area of your shapes to another. This chapter will show you:
- Why planar shifts are super effective for bringing elements of detail to your shapes.
- Our favorite approach to creating planar shifts to bring more visual interest to your shapes
- How planar shifts highlight different areas of your models
CHOOSE YOUR VERSION
The Blender Bros Shape Bootcamp
30-DAY MONEY-BACK GUARANTEE
If you aren’t completely satisfied with The Blender Bros Shape Bootcamp, let us know within the first 30-days for a full refund. No questions asked.
